Way back in the distant past when I learned electronics, components were "through hole". That means that components such as resistors had a wire out each end, and these wires were bent and passed through holes in a circuit board, then soldered.
 |
| An example through-hole board. |
These days, through hole technology is on the decline. It's becoming harder to get the newer integrated circuits in through-hole form. In its place, more and more people are using "surface mount" technology to build circuits. With SMT, components are often in the form of a tiny block, which is placed on a circuit board, directly in contact with the circuit board tracks, then soldered into place.
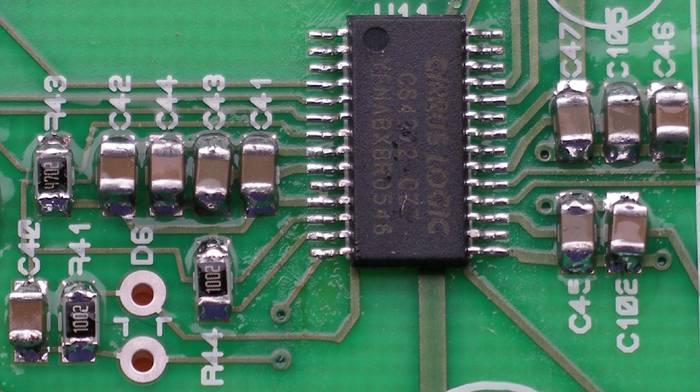 |
| An example SMT board. |
As a project at our hackerspace, Connected Community Hackerspace, Ross McKenzie and I have been working on a project which shows people that doing SMT assembly is not as hard as people think. We have deliberately used the largest size of SMT components to make assembly as easy as possible.
The board has a USB connector at one end, a small expansion connector at the other, and a row of 16 software controlled LEDs in the middle.
The primary purpose of the board is to act as a practical exercise in surface mount assembly. The secondary purpose is to show how to use the V-USB software USB stack to make a USB device. The third purpose is to give the Doodad some post-tutorial value, in a number of intentionally frivolous ways:
- Persistence-of-vision toy. Wave it around or put it on the wheels of your bike. Enjoy making groovy flowing messages in the dark.
- Secure password keystore.
- Log-data-to-serial-flash data logger, where samples could be retrieved over USB at some later time.
- “Messages waiting” / “processor load” / “build progress” indicator.
- Multimedia keys (if your keyboard doesn’t have them).
- Novelty breathalyser.
- Countdown timer for car parking reminder.
We plan to release the design for this project under an open licence, possibly the TAPR OHL, which means that others can copy this design.
The project has been designed to use a single sided PCB. Although this makes the job of designing and routing the board traces much more difficult, being single sided means people can make this board at home.
For applications which require the doodad to operate independently of a PC, we plan to add a small Li-Ion battery and management chip to the reverse of the board.
More information about the project can be found in the USB Doodad Google doc.
Ross and I are making rapid progress, and I'll post more project updates here soon.
I can only see top line of reactions in moz on ubuntu
ReplyDeleteRob_Melb
Thanks Rob, fixed. ("Fixed" means I have removed the "Reactions" widget).
ReplyDelete